ERR: Users Overview
Without users, software would be pointless. But authorizing users for certain tasks can be confusing. In this article, we'll attempt to step you through Candle's authorization system.
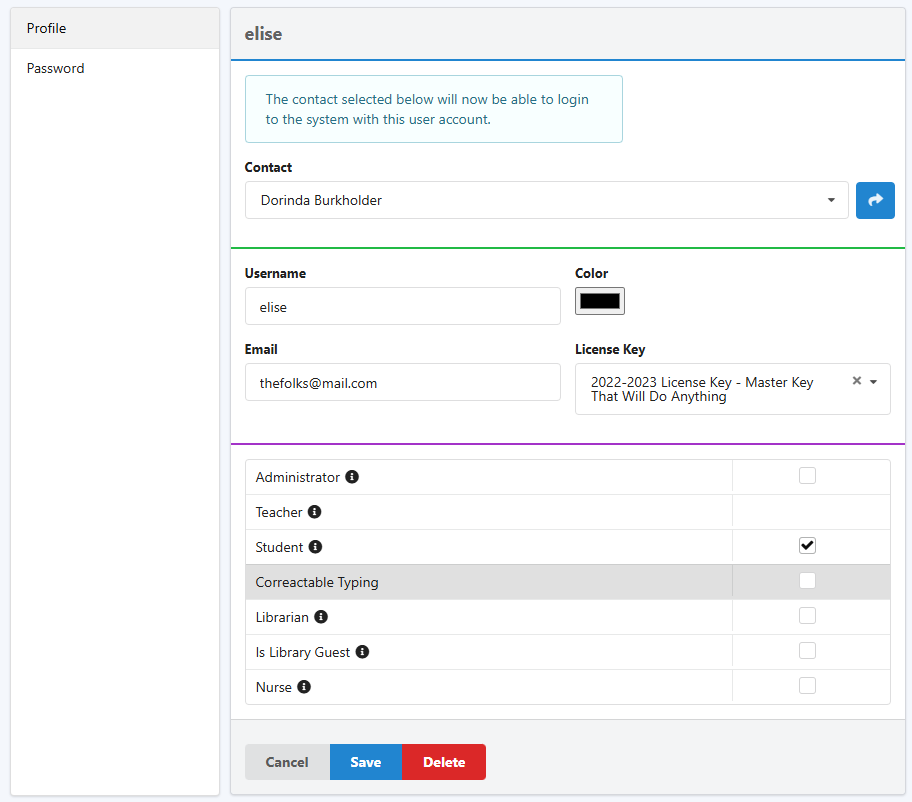
To see a list of users actively in the system, click Setup. Under the header Software Configuration, choose Authorized Users. To view details about a user, click on the user. A window similar to below will be displayed:

Contact
The first field on the screen is the contact field. This provides a place for you to link this user account with a contact. This contact could be a father, mother, teacher, or child.
- Username - The username is the name you use when you log in.
- Email - Email is the email address associated with your user account. You can also use this to log in.
- License Key - The license key which enables this user.
- Authorizations - The table at the bottom displays the privileges this user has been granted. Checking and un-checking the boxes will grant or deny the respective permissions. An important note: you cannot set the Teacher priviledge. The Teacher role is inferred by the student groups assigned to the teacher's contact. See this article on entering teachers.To specify as user as a board member, leave all the checkboxes blank, and assign the user to a valid license. Candle will assume the user is a board member and give them access to all students.